
Make MPC Sample Drum Kits from Your Sample Packs, Automatically

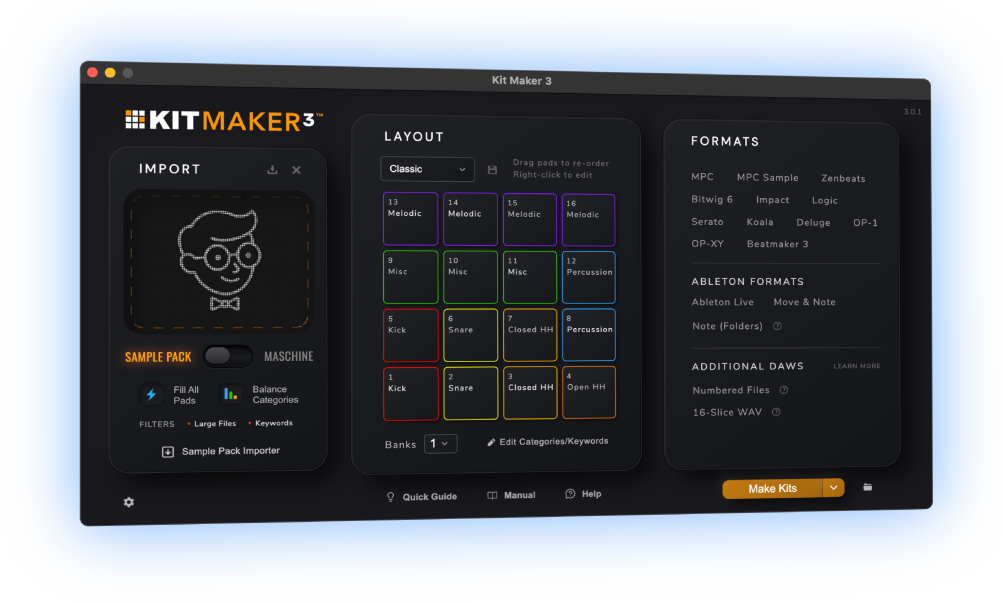
Kit Maker turns the drum sample packs, Maschine Expansions and MPC Expansions you already own into organized, ready-to-load drum kits for the Akai MPC Sample. Import your drum packs, click Make Kits and your packs are automatically made into MPC Sample kit presets.
$39 — one-time purchase. No subscription.
 As featured on Native Instruments blog
From Sample Packs to MPC Sample Kits
- 1
Drop in your packs
Drum sample packs, Maschine Expansions and MPC Expansions are all accepted.
- 2
Kit Maker builds the kits
Automatically, and made in a consistent pad layout.
- 3
Your kits are ready to load
Presets are made, organized and ready to load on your MPC Sample.
On your MPC Sample, already organized and ready to play
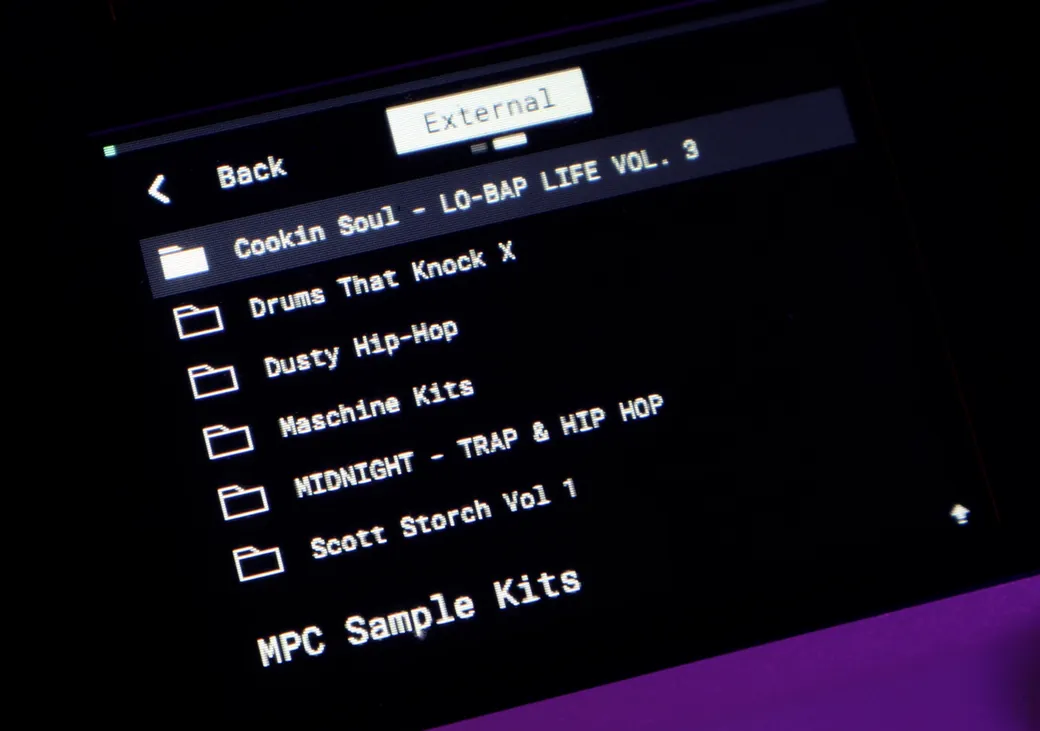
Your kits show up right in the MPC Sample browser, labeled, organized and laid out on the correct pads.
Want to fill multiple banks? Kit Maker can fill up to eight banks in one preset, so each preset has plenty of sounds.




Convert your Maschine Expansion kits for the MPC Sample, too
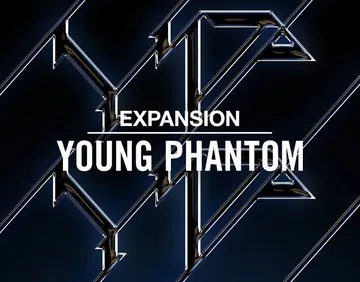
Kit Maker scans your Native Instruments Maschine Expansions and rebuilds their drum kits as MPC Sample kit presets, labeled and organized by Expansion.
Convert your MPC Expansion kits for the MPC Sample, too
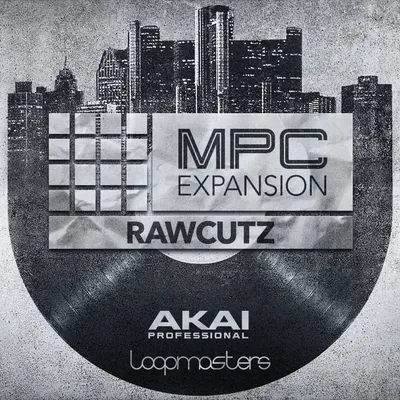
Kit Maker scans your MPC Expansions and rebuilds every bank of their drum programs as MPC Sample kit presets. That includes the MPC Expansions made by Native Instruments.
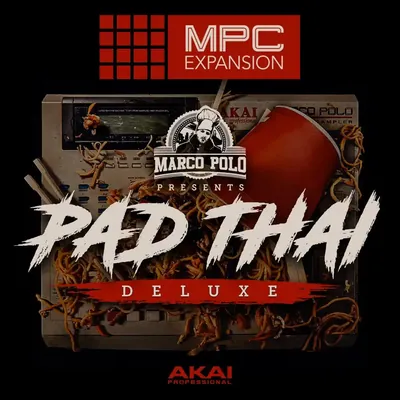
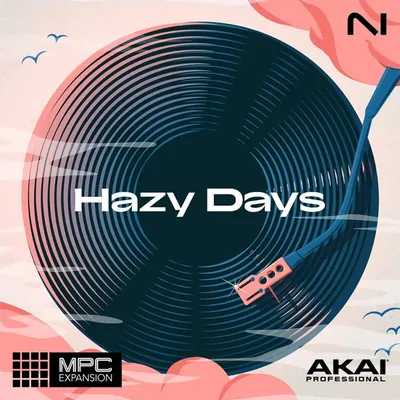
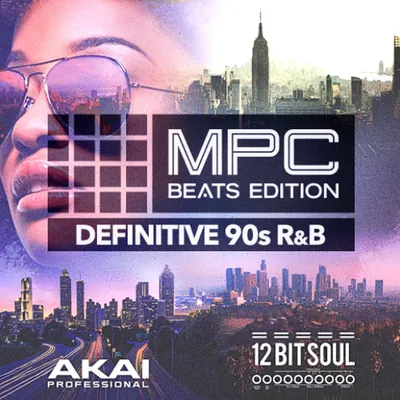
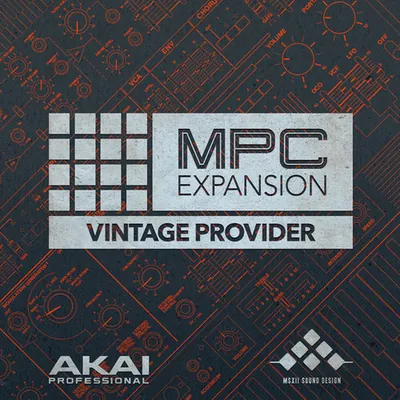
Swap kits, hear new sounds on your patterns
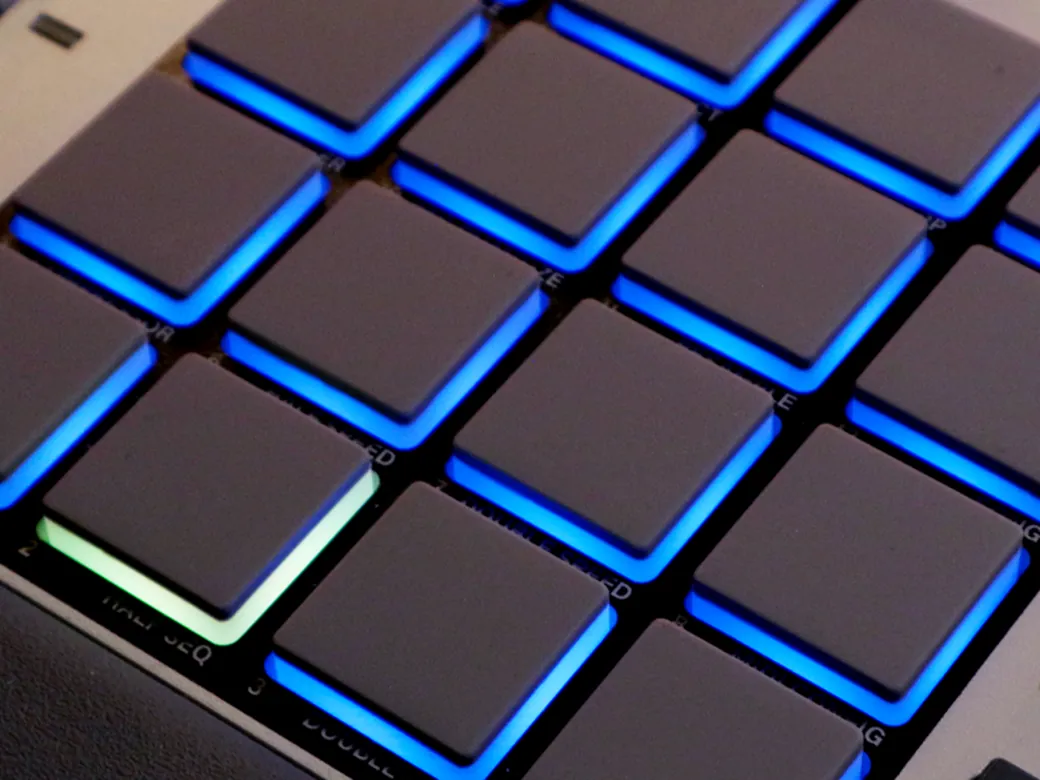
Kits use a consistent layout from kit to kit. Load a different kit on your drum pattern and hear your groove with brand new sounds.
As seen on




“A very useful tool, not just for converting NI stuff, but even your own custom packs.”
— Ave Mcree
“A super easy way to convert the expansions.”
— Sanjay C, Native Instruments Blog
“Very easy to use.”
— Jef Gibbons
Works with the Akai MPC Sample
Kit Maker builds kits in the Akai MPC Sample’s own format, so they load straight onto the device. No extra steps needed.
macOS (Apple Silicon) · Windows (Kit Maker desktop app)
Akai MPC Sample
Builds the MPC Sample’s native format. Not affiliated with Akai or Native Instruments.
.xpm kits for the MPC X, Live, One and Force.
Make MPC kits →
How to load a kit onto the MPC Sample
- In Kit Maker, choose the MPC Sample format and click Make Kits.
- Connect your MPC Sample:
Put a microSD card in the MPC Sample’s left slot. Hold Shift, tap Pad 16 and choose SD Card Access, then copy the kit folder onto the card. - Turn the MPC Sample off and back on. New kits don’t always show up until it restarts.
- Go to Load Project, press the middle button to switch to External, pick a kit and press Load Kit. Don’t press the knob, which opens the kit as a whole project.
Questions, answered
What is the Akai MPC Sample?
It’s a standalone sampler in Akai’s MPC family. Kit Maker builds kits in its own format, so the drum kits you make load right on the device. It works without any additional setup.
How do the kits get onto the MPC Sample?
Kit Maker builds them on your Mac or PC, in the format the MPC Sample already reads. Copy the kit folder to a microSD card through the device’s SD Card Access mode, restart the MPC Sample, then load a kit from Load Project with the Load Kit button (full steps above).
Do I need to own the sample packs already?
Yes. Kit Maker organizes packs you provide; it doesn’t include sounds of its own. Drop in the drum packs (or Maschine Expansions) you already own and it builds the kits.
Can it convert my Maschine Expansions for the MPC Sample?
Yes. Kit Maker scans Native Instruments Maschine Expansions and rebuilds those drum kits for the MPC Sample, so you can use sounds you already own. Native Instruments has featured it as an option for Expansion owners.
Is it a subscription?
No. Kit Maker is a one-time purchase of $39. Buy it once, use it as long as you like.
Mac and PC?
Both. Kit Maker runs on macOS (Apple Silicon) and Windows.
Still have questions? Visit the Kit Maker FAQ.
Start making MPC Sample kits from packs you already own
$39 — one-time purchase. No subscription. · For Mac & PC